If you want to add to your controls the parameters mentioned in the title of this post, go to the firs tab (zheng_ca3 (image)), switch to the Rendering tab in the right panel and replace the content of the Shader textfield to this:
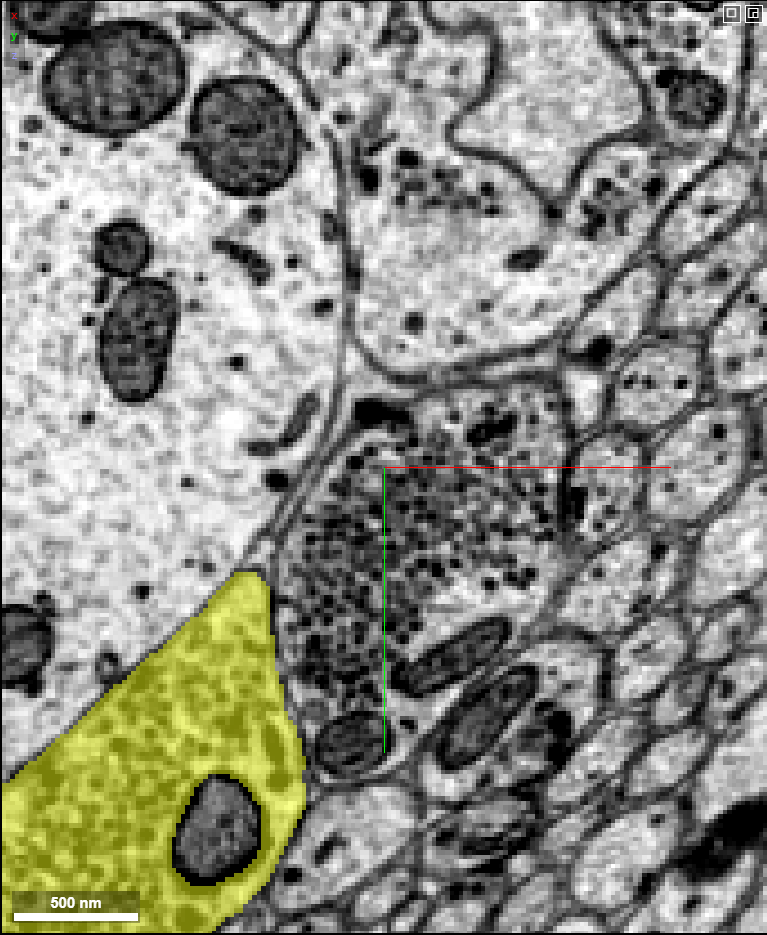
It will add all the controls below the textfield and the result should look like this (ofc, you can change the color - set to white for the “normal” settings):
I’ve just removed the channels, since we have only one channel.
Also re-added the “normalized” parameter, which exists in the default shader, but doesn’t in the code from the link.
I’ve tried to add some more advanced features like Sobel edge detecting or Laplacian sharpening, but the results weren’t great and, most important, weren’t consistent (some tiles were changed slightly while other weren’t touch at all).
If you want to go back to the default shader, here the code:
Woooohooo i did not knew neuroglancer was opensource on Github ! And Python written ? I’m in a python C++ developement with AI assistance for writing an app. think i’ll give it a try !
It’s written in TypeScript. It’s basically a client for any large datasets. The server side is independent from Neuroglancer. In our case I believe the server is done in CAVE and can be accessed using any language, for example Python: FlyConnectome/CAVE tutorial.ipynb at main · seung-lab/FlyConnectome · GitHub
And yes, you can write a pretty good application in Python (for example, with CTKinter) for managing all the annotations, segments, etc.
Unfortunately the issue with rendering is probably somewhere else. With the shader code we can only tell, how to display each pixel (the shader is called for each pixel separately). If there’s no info, the shader can’t create it.
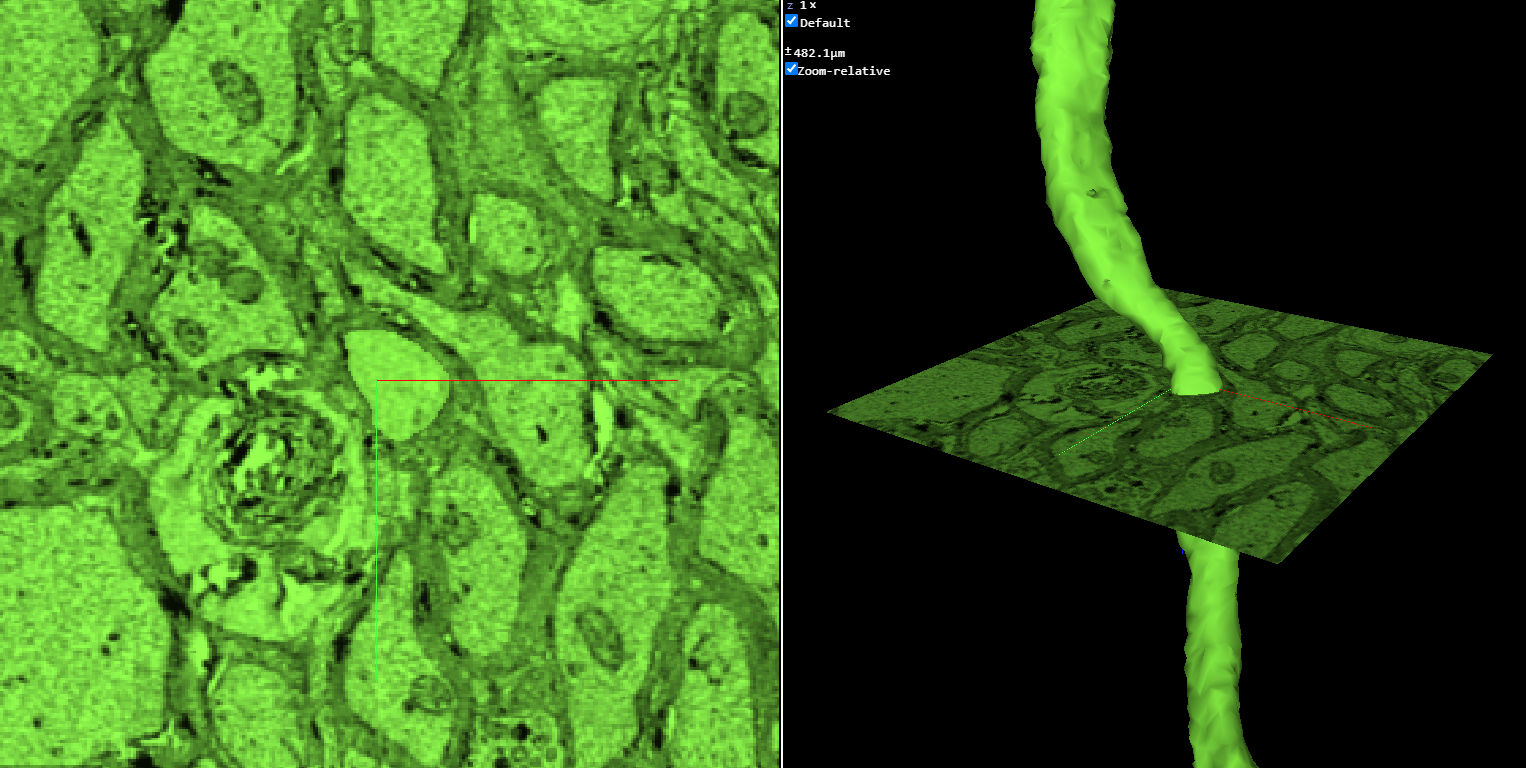
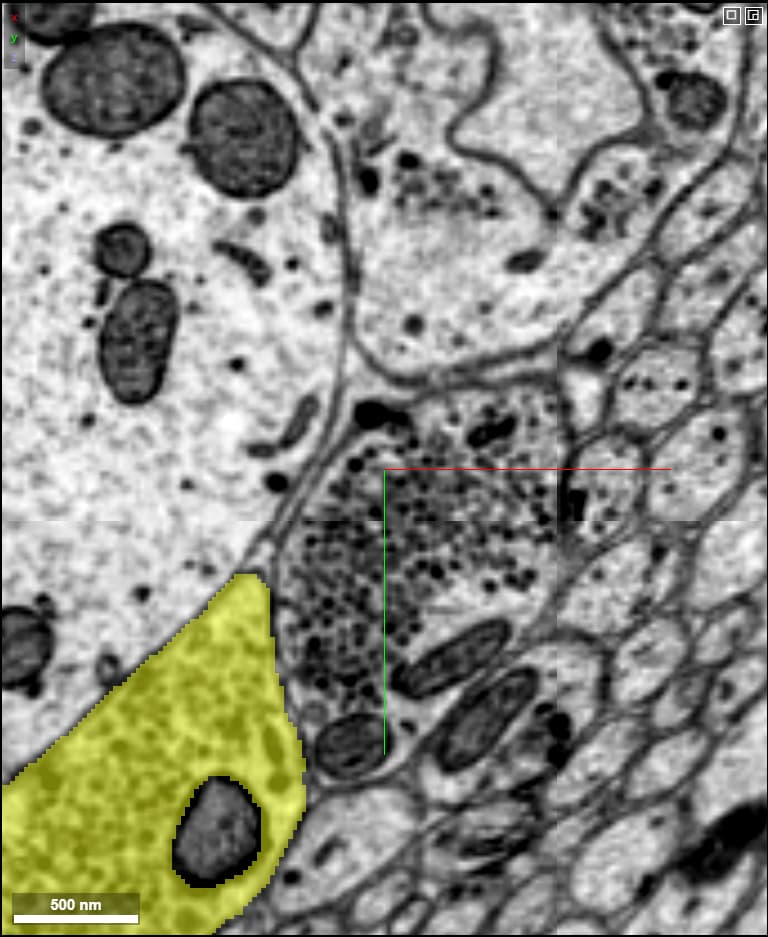
Anyway, here’s another functionality: inverse colors. Probably not very useful during normal play, but might be useful to spot difficult traces sometimes (when the colors are switched it’s sort of a fresh look).
Thanks for creating this! I was just wondering - there’s some code used in spelunker (looks like not autogenerated in pyr) that controls for black and white contrast –
I was just wondering, for clarity, if you could note if there’s any overlap with this code and the code you’ve recommended for value/brightness? Mostly asking in case I recommend those using base spelunker to paste in this code if it should override the default black/white code or should be included on top of it. TIA!
Nice piece of code, here’s a little simplier version of it (it does exactly the same, is just shorter):
#uicontrol float black slider(min=0, max=1, default=0.0)
#uicontrol float white slider(min=0, max=1, default=1.0)

void main() {
  float val = toNormalized(getDataValue());
  emitGrayscale(clamp((val - black) / (white - black), 0.0, 1.0));
}
As for the functionality - your code would be a replacement for brightness, contrast and inversion of colors in a way.
One could combine both shaders to something like this (thanks to chatGPT ):
#uicontrol float black slider(min=0, max=1, default=0.0)
#uicontrol float white slider(min=0, max=1, default=1.0)
#uicontrol vec3 color color(default="white")
#uicontrol float brightness slider(min=-1, max=1)
#uicontrol float contrast slider(min=-3, max=3, step=0.01)
#uicontrol float sharpness slider(min=0.0, max=1.0, default=0.0, step=0.01)
#uicontrol invlerp normalized
#uicontrol bool inverse_colors checkbox(default=false)

void main() {
  float value = toNormalized(getDataValue());

  // Neighbor sampling for sharpening
  float top = toNormalized(getDataValueAt(ivec3(0, 1, 0)));
  float bottom = toNormalized(getDataValueAt(ivec3(0, -1, 0)));
  float left = toNormalized(getDataValueAt(ivec3(-1, 0, 0)));
  float right = toNormalized(getDataValueAt(ivec3(1, 0, 0)));

  // Apply sharpening filter
  float sharpened = value * (1.0 + sharpness) - (top + bottom + left + right - 4.0 * value) * sharpness;

  // Rescale based on black/white levels and adjust brightness/contrast
  float scaled = clamp((sharpened - black) / (white - black), 0.0, 1.0);
  vec3 enhanced = color * (scaled + brightness) * exp(contrast);

  // Invert colors if selected
  if (inverse_colors) {
    enhanced = 1.0 - enhanced;
  }

  emitRGB(enhanced);
}
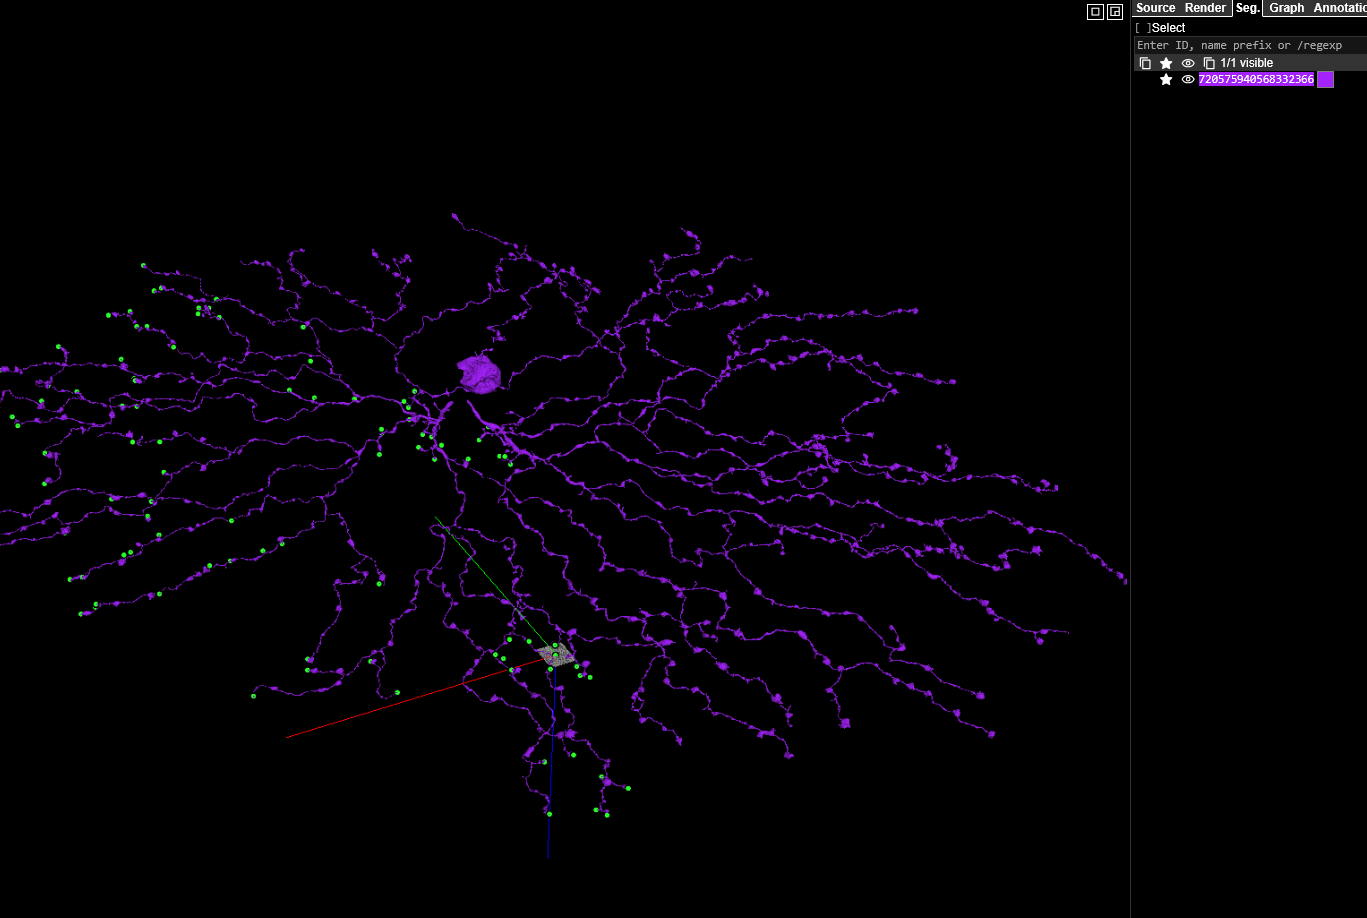
Is there a way through here/this to ‘tell’ neuroglancer that I want a specific segment to be locked into a specific colour but all others can be ‘free’ to follow the colour seed (multiple diff. colours)?
Unfortunately, it’s not possible through this code. It would require tracking operations done by user and even then, it would require to have some point, that the code would know for sure, that belongs to the part, we want to remain the same colour. With merging that wouldn’t matter, but for splitting that would be necessary since the code on itself would have no idea, what’s correct and what’s not. Heck, even if we’d count the number of vertices in each part, it wouldn’t be enough, because sometimes mergers are so big, that the code would “think” it’s the correct part.
In other words, it might be possible, but the code would have to be a TamperMonkey script, would be much longer and would require adding a fixed point for each new SAC. For now, it seems easier to just press the L button a couple of times when needed.