Here’s the methods I’ve been using.
Starting out
► I always work from one of my own old neuroglancer links, because they have settings tweaked the way I personally like them (here’s a fresh start for example: neuroglancer) Honestly I can’t recall everything I’ve tweaked here, other than turning off skeletons and one of the two border lines.
► After refreshing the starting segment (unselecting & reselecting in 2D), I immediately go after breaking apart all of the mergers so that every segment is separate before I start any other edits.
- I start by going after the most obvious mergers, and then checking every branch off.
- If the initial segment was a crowded mess, I will focus down small sets (get one chunk split off, then split that chunk down further).
- Once I have done a simple visual check of a split segment, I will hide it with the eye icon as I get the rest pruned apart.
Proofing All Segments
► I start by checking the far ends of each segment, extending until I hit a data set edge or end of branch, and then do a quick annotation mark (usually one or two slides further ahead so it’s more visible in 3D). Now using KK’s wonderful Ender addon for this so that I don’t have to jump tabs in neuroglancer.
► If you’re new to neuroglancer - you’ll learn that you can trust the system to trace the basic neuron flow really well. It’s a lot less about merging every bit of dust and checking for where segments should, or shouldn’t, be. Because of this, as I am extending (pre-merge), I right click jump to the end of each segment, rather than scrolling through.
► As I am extending, I wait to merge until I have hit the end of that extension. Then, after marking the end of the branch/data, I merge backward to my starting point. As I do this, I click through the 3D (right click) to jump along the segments. This gives me a second chance to check any funky shapes along the branch.
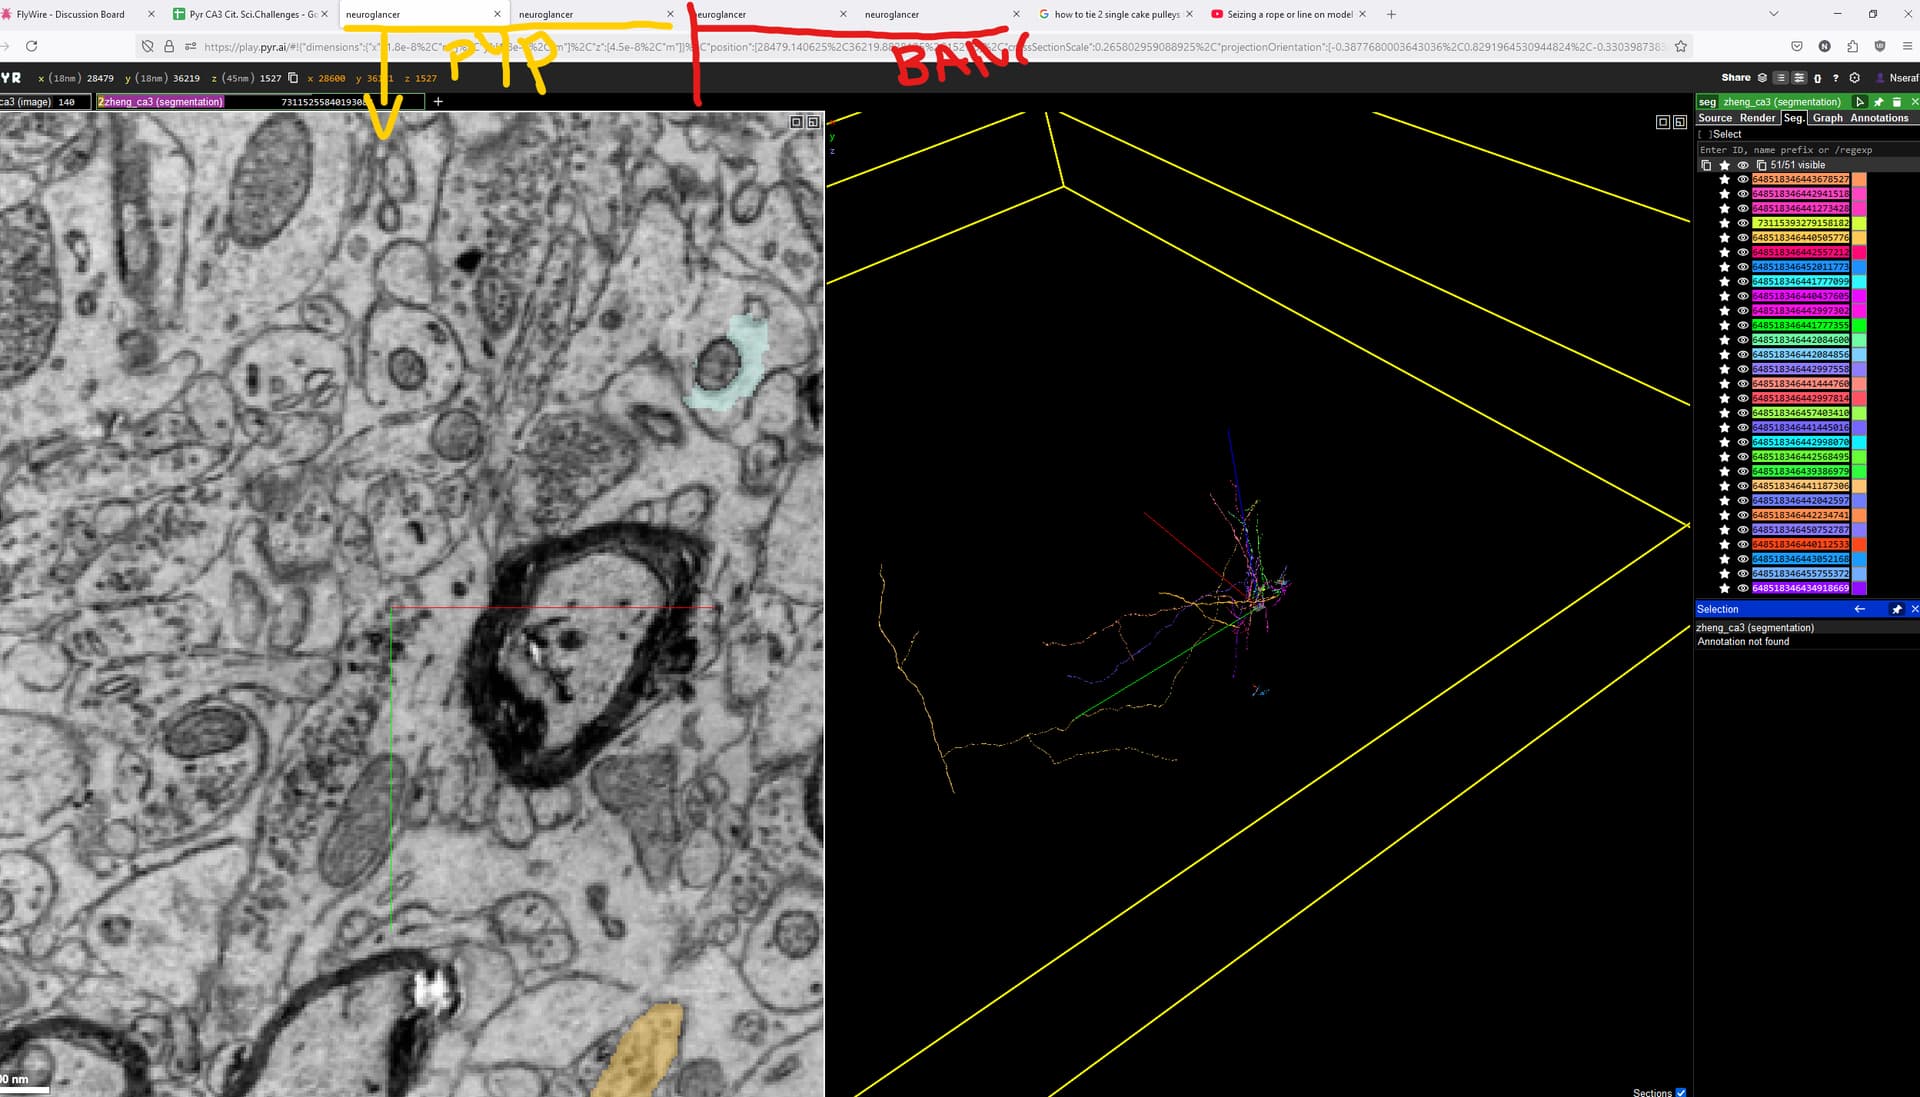
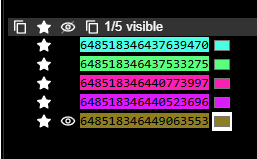
► After checking all ends, and taking a quick zoom out to make sure no branches were forgotten, I will dim the color of the branch (changing the color is a great idea, just took this from annkri’s earlier post!) and hide it with the eye icon, then move on to the next segment. It makes it much easier to tell which segments I have completed, as dimming the color not only highlights the color box but also selects a color that the software doesn’t choose. It also helps in a later step. Ex:
► I use a single annotation layer. I mark ends (single dot), visual path trace through a tough spot (line annotation), and for areas of interest or concern, I will use the box tool.
► When I’m done with all segments, I turn on all the segments I’ve traced. Then I will toggle on the original segment from the top box and compare it to the segments I have. If when flipping it on and off I find a segment got lost to the void while I was working, I’ll use this to find it and add it back to the pile. Ex of this: neuroglancer
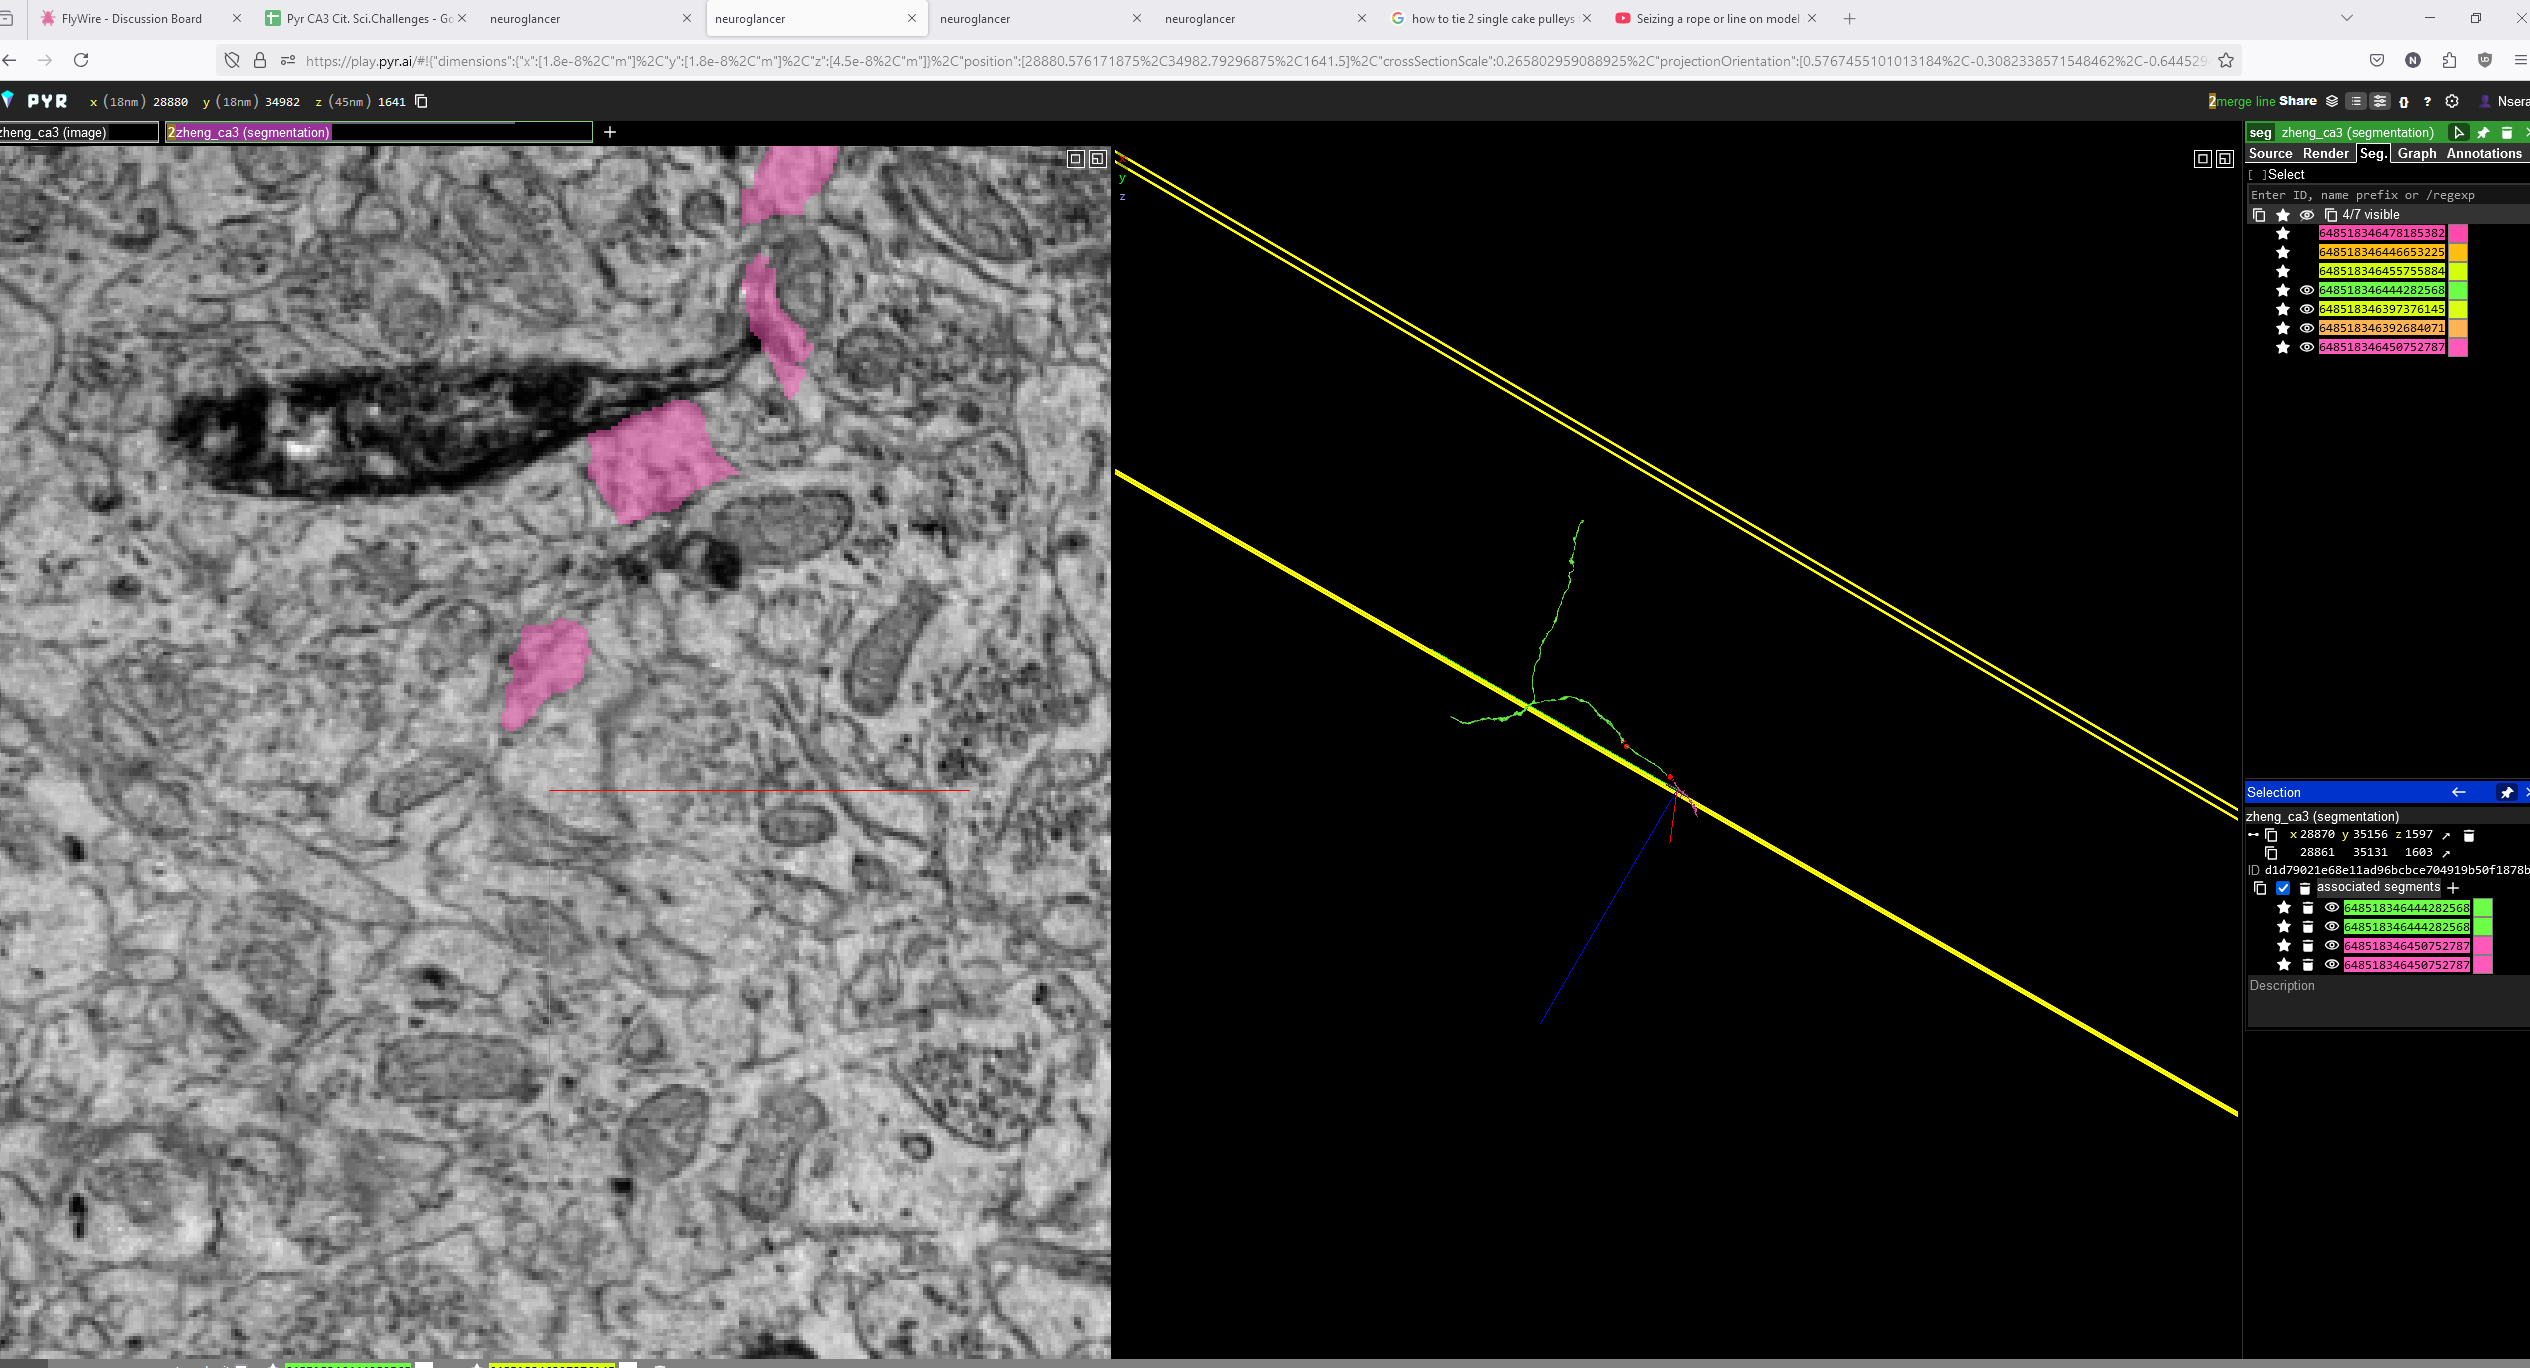
Alternative to handling lots of segments
While I haven’t had as many mega mergers as some of you have had the bad luck for, an alternative I keep in my pocket for when I do is to, instead of ‘hiding’ the finished segments, take their ID number and add them to the upper box list (this is how I keep myself sane with major farms in the BANC).
Here’s how that might look: neuroglancer
Having the list of IDs tucked in that part of segmentation means that you will not lose them unless you delete that list of IDs in the textbox, which makes it ideal for managing a lot of segments you don’t need to keep open.